
When you go under the water and the universe opens up around you, there's nothing like it. But for a lot of divers, that feeling of awe is cut short by a familiar, uncomfortable feeling: ear pain. You're not the only one who has ever pondered how to dive deep without ears hurting. The good news is that you can dive without discomfort if you use the appropriate skills and habits.
This article explains in detail why your ears hurt when you're underwater, pressure differential, how to equalize ear pressure correctly, and what safe behaviors for going down and up look like in real life. These ideas can help you or your guests enjoy every meter of the dive, whether you're a recreational scuba diver, a freediver trying to go deeper, or a resort operator getting people ready for their first undersea adventure.
Answering the Core Question Fast: How to Stop Ear Pain When You Go Deep
The basic answer is to equalize your ears often and early, go down carefully, and stop right away if you experience pain to avoid ear damage or ear barotrauma due to inadequate pressure equalization.
That's all there is to it about equalize ear pressure while diving. The only method to make sure your ears don't hurt when you dive is to keep the pressure difference between the water surrounding you and the air inside your middle ear cavity under check. If they don't equalize, most beginners start to feel pain at about 2–3 meters (6–10 ft). With the right technique, passing 10 meters (33 feet) becomes easy.
It's never a good idea to push through ear pain. Pushing through ear pain might hurt your ears actually, make you temporarily deaf, or even break your eardrum creating severe ear damage. The stakes are serious, but they may be avoided..
What this article covers:
- The Valsalva maneuver, Frenzel maneuver, and Toynbee maneuver
- Jaw and throat muscle techniques for hands-free equalization
- Descent speed control and safe ascent habits
- Health checks (congestion, hydration, gear)
Safety note: This article provides general guidance about how to equalize ear pressure and is not a substitute for in-person training with a certified instructor or professional medical advice.
Why Your Ears Hurt When You Dive Deeper
Every 10 meters (33 feet) you go down, the air pressure is almost twice as high as it is above the surface. As you dive deeper, the water pushing against your body and eardrum gets much stronger.
The eardrum keeps the air in your middle ear from getting out. When you go down, the pressure of the water outside pushes the eardrum in. The eardrum bends more and more inward, which hurts, if the pressure inside the middle ear doesn't match the pressure outside. You're going to get hurt if you don't equalize the pressure.
Your Eustachian tubes, which are thin tubes that connect your middle ear to the back of your nose and throat, are the most important parts of this process. These tubes usually stay closed, but when you equalize, you open them for a short time to let air in and balance the pressure.
Common symptoms of pressure problems:
- Sharp or excruciating pain on descent
- Muffled hearing or a “plugged” sensation
- Popping or crackling sounds
- Dizziness or vertigo (signals potential inner ear involvement)
Pain is an indication that something is wrong how you equalize ear pressure, not something to ignore. If a diver feels pain in their ears, they should pause, go up a little, and try to equalize again. If you don't pay attention to it, you could injure your ears, which could keep you from hearing for weeks or even permanently.
Core Equalization Basics: What It Means and When to Do It
Equalization is just introducing air to your middle ear so that the pressure is the same as the water around it. You're using your body to force air through your Eustachian tubes and into the middle ear cavity, which is sealed off.
Most people can't go down more than 2 meters (6–7 ft) without equalizing first, or they will start to feel uncomfortable. That's not even as deep as a shallow water pool. The answer is to equalize a lot and early.
The golden rule:
- Start equalizing at the surface or at 1 meter (3 ft)
- Continue equalizing every 0.5–1 meter (1–3 ft) on the way down
- Don’t wait until your ears start to hurt
What correct equalization feels like:
- Gentle pressure or “fullness” in the ears
- A soft “pop” or click as the tubes open
- Never sharp pain or violent force
Descent vs. ascent:
| Direction | What happens | What to do |
|---|---|---|
| Descending | Air compresses; ears need active equalization | Equalize early and often using techniques below |
| Ascending | Air expands; ears usually “leak” air passively | Ascend slowly to allow natural pressure release |
When you go up, equalization is usually passive; the air leaves on its own. But if you go up too rapidly, you could have "reverse block," which happens when trapped air can't leave fast enough and puts pressure on the eardrum. The answer is to go up gently.
Step-by-Step Ear Equalization Techniques (With Real Examples)
There is no one best way that works for everyone. An experienced diver generally uses a mix of approaches based on how deep they are, where they are, and how their ears are feeling that day.
Practice any underwater technique on land first, whether it's at home, by the pool, or on the diving boat. When you're really going down, having the muscle memory down makes a big difference.
These are the most common and useful ways to do it. Most people who dive for fun start with gentle Valsalva or Toynbee. Freedivers and technical divers frequently go on to Frenzel when they want to work deeper.
If you keep having trouble equalizing even after practicing, you might want to see an ENT (ear, nose, and throat physician) who knows about diving medicine. Some people's bodies are different, thus they need different tactics.
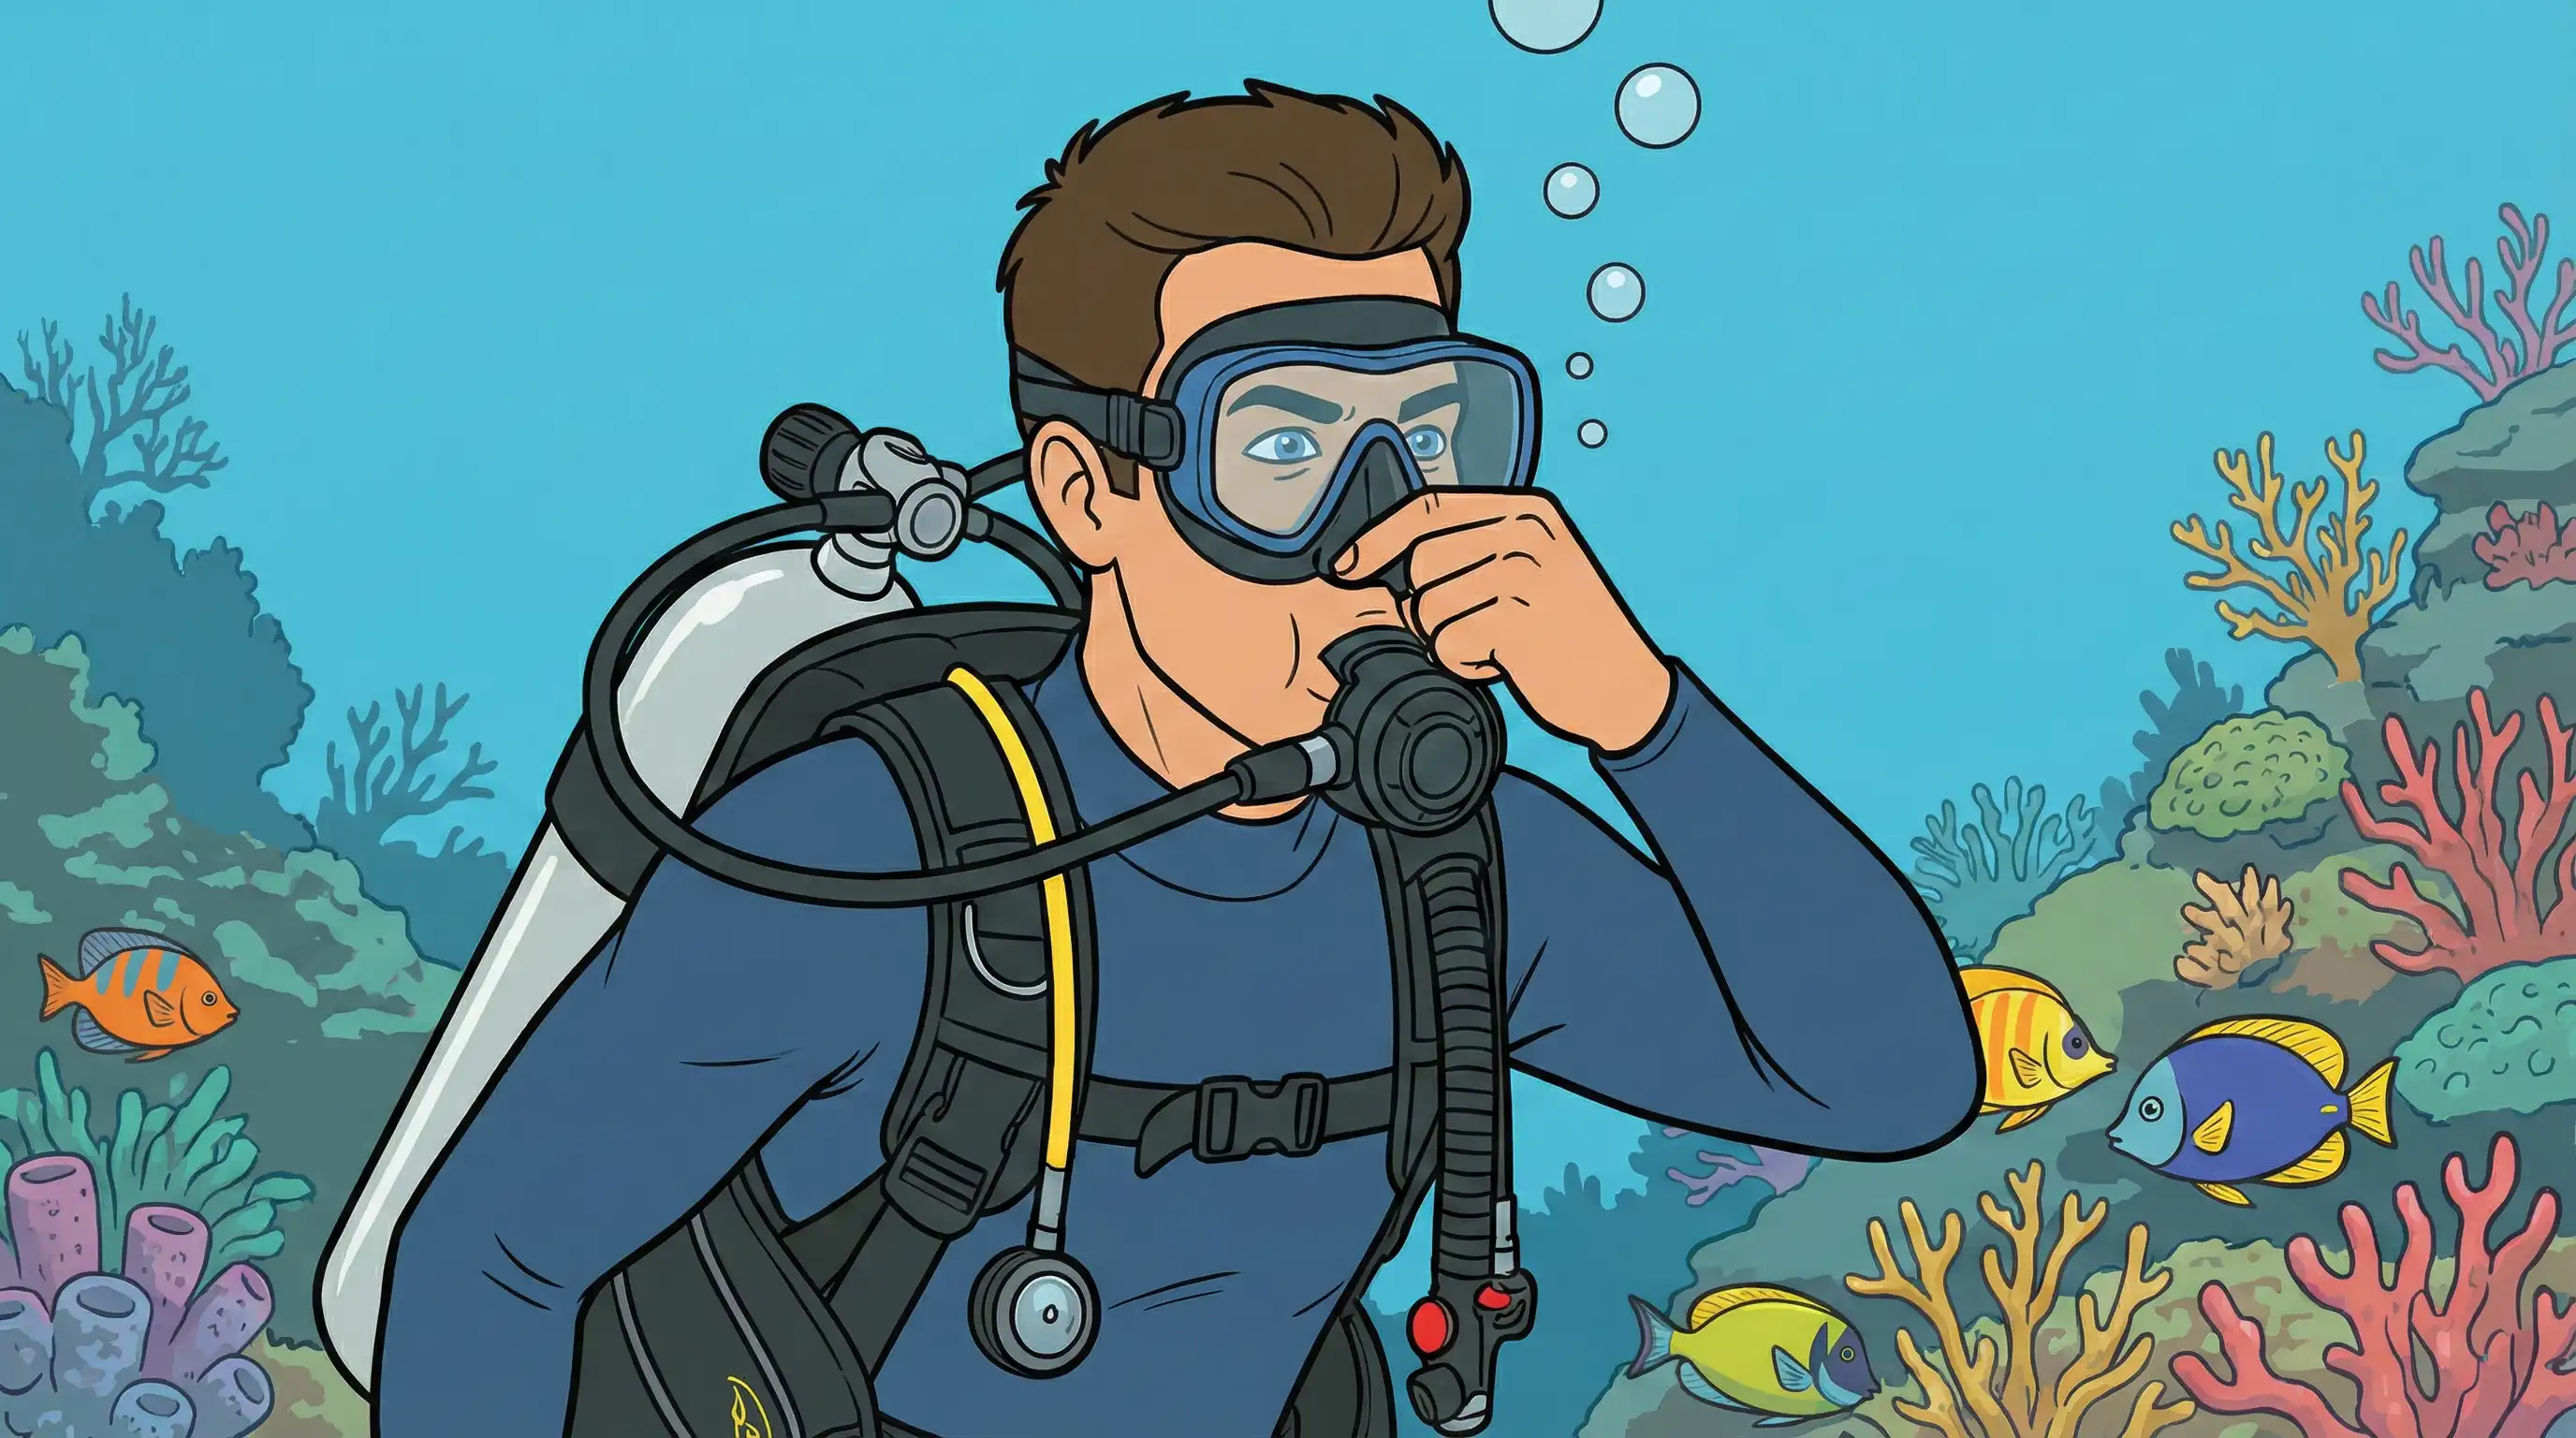
Valsalva Maneuver: Pinch Your Nose and Gently Blow
The Valsalva maneuver is the most widely taught technique for beginners and scuba divers. Here’s how to do it:
- Pinch your nose through your mask or with your fingers, keeping your nostrils shut
- Close your mouth completely
- Blow gently, as if trying to exhale through your nose—but don’t force it
When air enters your middle ear, you should feel a faint "pop." The most important thing is to be gentle. No pushing or straining. Forceful action can hurt the fragile membranes in your inner ear.
At home, sit up straight and do 5–10 extremely light Valsalva tries. Pay attention to the little pop in your ear. This will be easier for you to accomplish in the water if you can do it easily on land.
The Valsalva maneuver uses the muscles in your chest and stomach to push air up through your neck. This works well at shallow depths, but it gets harder if you wait too long. According to diving instructors, Valsalva works for 80–90% of divers at first, but its effectiveness drops below 50% after 10 meters if the diver hasn't been equalizing consistently.
Caution: If your tubes have already “locked” from too much pressure, forcing harder is dangerous. Instead, ascend a meter or two and try again with less force.
Toynbee Maneuver: Pinch Your Nose and Swallow
The Toynbee maneuver is a gentler alternative that many divers find more comfortable, especially those prone to sinus issues.
- Pinch your nostrils (or press your nose against your mask skirt) to keep them closed
- Swallow normally
That swallowing motion activates throat muscles that naturally open the Eustachian tubes. Air shifts gently without the force of gently blowing.
Home practice: Sip water through a straw, pinch your nose closed, and swallow. You should feel a subtle pressure change in your ears—a soft click or shift.
The Toynbee maneuver is excellent for:
- Divers who dislike the blowing sensation
- Situations where Valsalva feels too forceful
- Shallow water equalization when ears are cooperative
Use Toynbee as a backup when Valsalva isn’t working well. Some divers alternate between them throughout a dive.
Frenzel Maneuver: Tongue-Driven Equalization for Deeper Dives
The Frenzel technique is the best way to free dive and do deeper scuba work. It doesn't use your stomach or chest to compress air; it employs your tongue and throat muscles instead. This enables it work well beyond 10 to 15 meters (33 to 50 feet), where Valsalva often fails.
High-level steps:
- Close your glottis (the back of your throat)—imagine making a “K” sound and stopping halfway
- Pinch your nose or seal it against your mask
- Keep your cheeks neutral (don’t puff them out)
- Use your tongue to push against your soft palate, forcing air toward the back of your nose
Done correctly, you’ll feel tiny clicks in your ears with minimal effort. Research indicates Frenzel achieves about 95% efficacy in trained freedivers.
Why Frenzel matters for deeper diving:
- Works when you’re upside down or at maximum depth
- Conserves oxygen (no lung involvement)
- Requires less force than Valsalva
Most freediving courses teach Frenzel in early levels. If you’re worried about mastering it on your own, seek guidance from a qualified instructor. Incorrect technique leads to frustration and wasted effort.
Dry practice tip: Practice in front of a mirror. Focus on isolating the tongue movement without puffing your cheeks or using your chest.

Jaw and Throat Techniques: Edmonds and Voluntary Tubal Opening
Some divers can equalize by moving their jaw forward and down while tightening their soft palate and throat. This "pulls" the Eustachian tubes open without constricting your nose.Basic approach:
- Look straight ahead
- Move your jaw forward, then side to side
- Try to yawn with your mouth closed
- Notice any ear sensations—clicks, pops, or pressure shifts
Only a few people can execute voluntary tubal opening (VTO) naturally. But after weeks or months of effort, many divers can at least partially equalize without using their hands at shallow to moderate depths.
Experienced freedivers or instructors who have used these techniques many times usually use them. If you're already in pain, don't rely on a modest jaw maneuver; these should never take the place of basic safety guidelines. Go up and start over.
Individual anatomy is quite important in this case. It's okay that some people will never reach complete VTO.
Safe Descent and Ascent Habits to Keep Ears Comfortable
Equalization alone isn’t enough. How fast you move through the water column dramatically affects ear comfort.
Recommended descent rates:
| Diver type | Suggested rate |
|---|---|
| Recreational scuba | 9–18 m (30–60 ft) per minute |
| Beginners or “slow equalizers” | Slower than 9 m/min |
| Freedivers (experienced) | Variable, based on equalization ability |
Only when beginners are sure they can equalize should they go down head-first. It can be simpler to equalize if you stand up a little straighter, with your feet behind your head. This helps air flow naturally toward the Eustachian tubes.
The most important rule is to stop if equalization fails once or twice. Go up a meter (approximately 3 feet) and try again. If it still doesn't work after a few tries, stop the dive. No dive site is worth losing your hearing for good.
Scenario example:
A diver reaches 8 meters (26 ft) and feels increasing pressure. Instead of pushing deeper, she stops her descent, ascends to 6 meters (20 ft), and successfully equalizes. She then continues comfortably to her planned maximum depth of 15 meters.
This is a standard way to do things. Pain-free divers also go up gently, at a rate of 9 to 18 meters per minute, to prevent problems with reverse block and decompression.
Health, Gear, and Preparation: Setting Yourself Up for Pain-Free Ears
Even with perfect technique, congestion, allergies, dehydration, and certain habits can make equalizing difficult.
Avoid diving when:
- You have a cold or sinus infection
- Severe allergies are flaring (spring pollen, dust, etc.)
- You’re significantly dehydrated
- You recently had ear surgery or a perforated eardrum
Research shows that 30% to 50% of dive-related barotrauma is linked to problems with the upper respiratory system. If your Eustachian tubes are bloated from congestion, no method will work every time to open them.
Stay hydrated 12 to 24 hours before diving. Keeping your body well-hydrated makes the mucous membranes around your Eustachian tubes more flexible and simpler to open.
Take decongestants with caution: Some divers take pseudoephedrine or nasal saline sprays before diving. But using it often without a doctor's advice can make congestion worse and hide other problems. Before you start using decongestants before diving, talk to a doctor who knows about diving.
Gear considerations:
- Most recreational dives don’t require special ear gear
- Low-volume dive masks can make nose access easier for pinching
- Vented earplugs designed for diving (like Doc’s Proplugs) can reduce water entry while still allowing equalization
Check yourself before you dive: If you're on a boat or in your hotel room the morning of your dive, attempt a gentle equalization on land. Do a mild Valsalva or Toynbee while pinching your nose. If it's hard or hurts, you might want to put it off.
Training, Coaching, and Using Technology to Improve Comfort
Formal instruction makes a measurable difference. Freediving and scuba courses typically devote dedicated sessions to equalization skills and safety protocols.
What instructors watch for:
- Waiting too long to equalize
- Blowing too hard during Valsalva
- Tilting the head awkwardly
- Descending faster than equalization ability allows
Learning goes faster when you get feedback right away. What is appropriate to you may look very different to someone else.
Technology that is new also helps. Dive computers and depth gauges help you control how fast you go up and down. Some divers set mental reminders at certain depths, like "equalize at 3 meters, then again at 5, then again at 7..."
With guest messaging systems like Prostay Nexus, you can send automatic notifications before they book dives:
- “Reminder: Stay hydrated today before tomorrow’s dive!”
- “Feeling congested? Diving with a cold increases ear injury risk. Consider rescheduling if needed.”
- “New to diving? Ask our dive center about equalization techniques before your session.”
This kind of proactive communication reduces guest injuries, improves satisfaction, and positions your property as genuinely caring about guest wellbeing—not just selling excursions.
When to Stop, See a Doctor, or Change Your Approach
Even with great technique, problems sometimes happen. Knowing when to stop diving and seek medical attention protects your long-term hearing.
Red-flag symptoms after a dive:
- Persistent ear pain lasting more than a few hours
- Strong fullness or pressure that won’t resolve
- Ringing in the ears (tinnitus)
- Vertigo, dizziness, or nausea
- Fluid or blood from the ear canal
If you get any of these symptoms, especially if they don't go away, you should stop diving and see a doctor. It's best to find an ENT that knows how to do diving medicine.
Resting for a few days usually helps mild barotrauma get better. But repeated exposure without sufficient healing can lead to long-term difficulties, such as chronic hearing loss or problems with balance.
For divers who “always struggle”:
If you still having trouble equalizing even after using the right techniques and getting the right training, you should have a personalized evaluation. Some people have naturally thin Eustachian tubes or other differences in their anatomy. An ENT can look at your specific case and suggest special workouts or treatments.
If you keep forcing equalization dive after dive when it doesn't work, you'll be hurt.
For hospitality operators:
Think about keeping a list of local clinics or ENT specialists who are experienced with diving medicine and have been checked out. Make this knowledge part of staff training and make it available through digital concierge apps. When a guest has an ear problem, being able to promptly get them to qualified care shows that you are professional and care about them.
No depth or dive is worth hurting your hearing. To have pain-free ears, you should start equalizing early, move carefully, and pay attention to your body. Learn how to do the Valsalva, Toynbee, Frenzel, or other procedures, then practice them on land. Don't push through pain.
These basics apply whether you're getting ready for your first pool session, your hundredth open-water dive, or assisting guests safely explore the undersea world. Equalize right away. Slowly go down. Slowly go up. Stop if something doesn't feel right.
Your ears will thank you, and so will every dive that follows after.